Tuesday, 11 March 2014
Spiral Shell
I've been spiral shell knitting again. I couldn't get the colour wool that I normally use, but thought I would try this slightly darker shade 0053. It is still Sirdar Crofter DK, and I really like the result.
I like to return to my own patterns from time to time. It is quite nice to just follow a pattern, rather than inventing, and sometimes gives me some fresh ideas. Although the thought "Did I really make this up?" also seems to pass through my head. Strange.
I also wanted to show you my Christmas presents which are in the background. Hubby bought me these lovely sea urchins to use as props. He bought them online from a company called Buy the Sea. I would really recommend them, as they were very reasonable, and although one urchin arrived broken they sent a replacement free of charge, and very quickly.
The pattern to knit a spiral shell is available on ravelry. I am working really hard at the moment on some new seaside patterns.
Monday, 3 March 2014
Henrietta 2CV
When I met my husband there was another woman in his life. She was French and flamboyant, and had great style. She could also be difficult first thing in the morning. She was called Henrietta.
Ok, Henrietta was his car, a red 2CV, and I very soon came to love her too. In fact my husband taught me to drive in her. And despite her gearstick shaped like an umbrella handle, I passed my driving test in her (having failed in four other cars). Fifth time was the charm!
When we moved into our first flat and had no furniture we would remove her back seats every evening to use as our sofa, and then put them back in her in the morning if we wanted to go somewhere.
And that first summer together we heading off around Europe in Henrietta. Without any very precise plans we drove to the south of France, and then to Italy. On the journey back plucky Henrietta made it over the Alps and through Germany. Once or twice we had to push start her, but she never completely let us down.
But then one day there were too many cold, damp mornings when we couldn't get her to start. And then with plans for a baby on the way we were also worried that she wasn't particularly fast or safe on long journeys. Perhaps we were also getting a bit older, and a bit softer. So with deep regret we let Henrietta go, and moved on to a much more sensible car - Neville (but that is another story.)
I resolved this year to have more fun with my knitting, but also to make things that are much more personal to me. So despite the idea seeming ridiculous here is Henrietta - 2CV.
Although I am not really expecting that many people will want to knit a 2CV I have written up the instructions as a pattern. There is a colourwork chart and shaping to follow, panels to sew together, and little wheels and headlamps to sew on. You have been warned, this is not an easy knit. But then again you will have made a car out of wool.
I have really tried to be as accurate as I can to the original Henrietta. The most obvious thing I have not included are wing mirrors, as I thought these would require wire, and then not make it safe as a toy. Although I think most 2CV fans are adults, so would probably think this is more of an ornament than toy.
The red one is going to be a part of hubby's birthday present, I have also knitted a little green friend, so if you are not a knitter that car is for sale in my Etsy shop. I am now trying to find the just right shade of burgundy to knit the black/burgundy model, so some more cars will appear in my shop soon. Though do contact me if you have a particular colour 2CV that brings back memories for you, and I will see what I can do.
Ok, Henrietta was his car, a red 2CV, and I very soon came to love her too. In fact my husband taught me to drive in her. And despite her gearstick shaped like an umbrella handle, I passed my driving test in her (having failed in four other cars). Fifth time was the charm!
When we moved into our first flat and had no furniture we would remove her back seats every evening to use as our sofa, and then put them back in her in the morning if we wanted to go somewhere.
![]() |
| Henrietta posing in a lavender field in Provence ... |
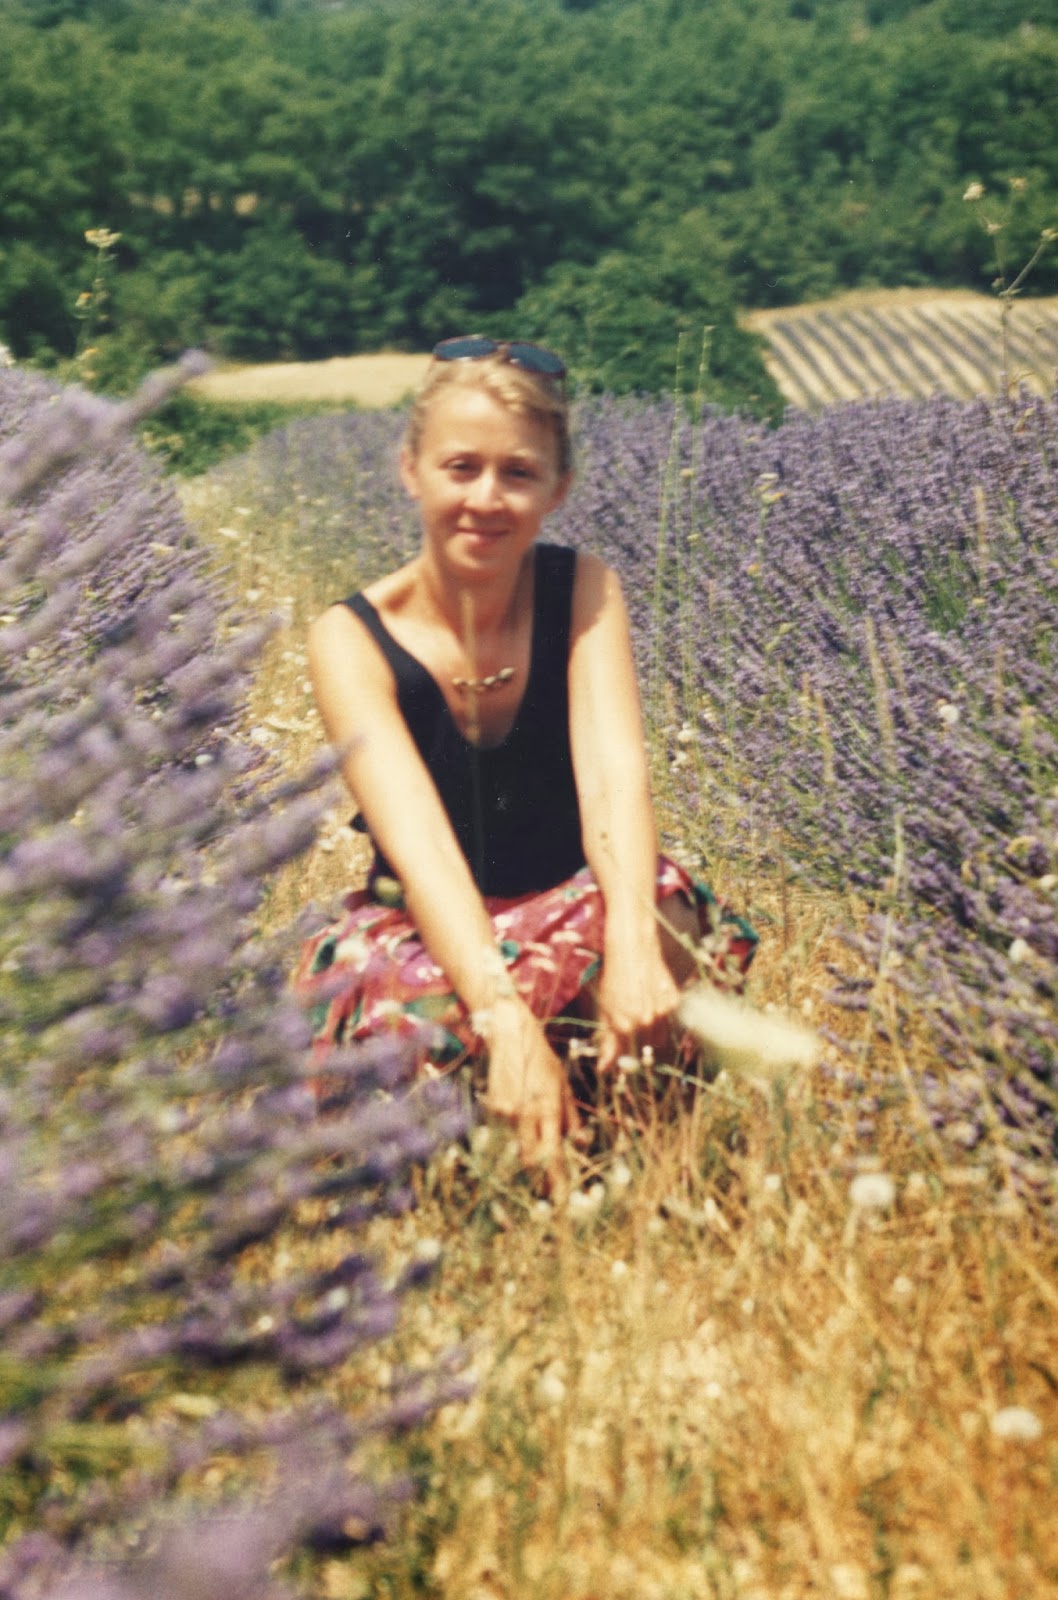
And that first summer together we heading off around Europe in Henrietta. Without any very precise plans we drove to the south of France, and then to Italy. On the journey back plucky Henrietta made it over the Alps and through Germany. Once or twice we had to push start her, but she never completely let us down.
![]() |
| ... and me posing in a lavender field in Provence |
But then one day there were too many cold, damp mornings when we couldn't get her to start. And then with plans for a baby on the way we were also worried that she wasn't particularly fast or safe on long journeys. Perhaps we were also getting a bit older, and a bit softer. So with deep regret we let Henrietta go, and moved on to a much more sensible car - Neville (but that is another story.)

I resolved this year to have more fun with my knitting, but also to make things that are much more personal to me. So despite the idea seeming ridiculous here is Henrietta - 2CV.
Although I am not really expecting that many people will want to knit a 2CV I have written up the instructions as a pattern. There is a colourwork chart and shaping to follow, panels to sew together, and little wheels and headlamps to sew on. You have been warned, this is not an easy knit. But then again you will have made a car out of wool.
I have really tried to be as accurate as I can to the original Henrietta. The most obvious thing I have not included are wing mirrors, as I thought these would require wire, and then not make it safe as a toy. Although I think most 2CV fans are adults, so would probably think this is more of an ornament than toy.
The red one is going to be a part of hubby's birthday present, I have also knitted a little green friend, so if you are not a knitter that car is for sale in my Etsy shop. I am now trying to find the just right shade of burgundy to knit the black/burgundy model, so some more cars will appear in my shop soon. Though do contact me if you have a particular colour 2CV that brings back memories for you, and I will see what I can do.
Wednesday, 26 February 2014
Mermaids
I've been knitting a few mermaids, from my Mermaid Flower Fairy Pattern.
This mermaid really reminds me of Cher, although perhaps this is just because I am thinking of the film Mermaids. This has given me the idea of making some new Tiny Icon dolls.
Saturday, 22 February 2014
World War II - Evacuee
My daughter has been studying World War II at school. They had a day recently when the children all went in dressed as evacuees. During the war lots of children were moved out of London, and other major cities that were at risk of bombing, to live in the relative safety of the countryside.
To put together this outfit we did a bit of hunting in charity shops. The dress is actually a women's top. As we were hunting for suitable clothes I was getting some odd looks, as I was saying things like "Oh that won't do the colours are too modern." The hat though is mine.
Wednesday, 19 February 2014
New House
I've been house knitting again.
It is Spring, as this time the tree at the side has a carpet of bluebells underneath. One of my favourite flowers. And difficult to photograph, but at the other side of the house a naughty little fox has tipped over the dustbin.
At the back of the house grows a rambling yellow rose, and the gardener who has just gone in for a cup of tea, has left his shovel propped up against the wall next to a small pile of earth. On the roof sits a white dove.
This house is also off to Ginx Craft on Etsy, and the pattern is still available on ravelry, and Etsy. There may be a few more on the way, as hubby has suggested that I make him his own little pub.
Wednesday, 12 February 2014
Baby Bug Shoes and Snowdrops
Some more baby shoes. These ones I have called Bug Shoes. I have knitted with this wool before, and just love all the different shades in it. I have no idea where it came from, and am a bit sad I only have the tiniest bit left. The bugs were my daughter's idea, at least the ladybird on the leaf. Then I thought it would be rather cool to have a different bug on the other shoe. I'm not sure that caterpillars are considered quite as cute, but I really like them, and it had to be something really small to fit on the shoe.
My neighbour told me this morning he has a few snowdrops in his garden. So for the last pair I have made a new pair of Snowdrop Shoes. Previously I have made these in yellow and green, but I thought a light blue would look good and wintery.
These shoes are all knitted from my Baby Bee Shoe pattern, and are off to my Etsy shop. Although the embroidery may look tricky, there are tutorials for all the stitches you need in embroidery corner in my right sidebar.
Labels:
Baby,
Baby Booties,
Baby Shoes,
Bootie,
Bugs,
Caterpillar,
Embroidery,
Etsy,
Flowers,
Insects,
Ladybird,
Ladybug,
Monarch Caterpillar,
Pattern,
Shoes,
Snowdrops,
Wool
Monday, 10 February 2014
How to Sew a Small Drawstring Bag
A lot of the things I make for my Etsy Shop come in a drawstring bag: my baby shoes, my fairies and mermaids, my butterfly sets and shell sets. The bags are often not particularly fancy, but I think of them as part of the packaging. And if you have bought something special it is really nice to have a little bag to keep it in.

I have tried quite a few ways to sew a drawstring bag, and am going to show you what I think is the easiest method. If you are making a larger drawstring bag which you are going to use a lot I think it is better to have two strings that you pull at each side, and perhaps to sew french seams, but this is my tried and tested method for a small, simple bag.
First cut out your material. I am not going to give exact measurements for this, as it depends how big you want your bag to be. An easy way to calculate what you need is work out twice the width you want your bag, and add 2 x 0.5cm for side seams. For the length just work out how tall the bag will be, and add 2cm for the top cord channel and 0.5cm for the bottom seam allowance.
In my photographs I am using dupion silk, and have used iron-on facing which I find makes it easier to work with. For a small bag I recommend you use a fine material like cotton or silk.
Pin your material at both sides at the top of your bag as in the photo below. Sew this small tapered seam as close to the edge as you can with a short stitch.
Next fold the material at the top of your bag to make a channel for the drawstring. Sew this with a longer stitch, as this stitching will show as topstitching on the outside of your bag.
Then fold your bag in half with the right side on the inside, and with a shorter stitch sew across the bottom and up the side, stopping just before you reach your drawstring channel. Allow 0.5 cm for the seam, but keep in a straight line as you stitch up the side of the bag so you stop sewing exactly at the edge of your material and just below your cord channel. Trim the corners at the bottom diagonally, which will give a neater look when you turn your bag right side out.
Turn your bag right side out. Use a pin to turn the corners out neatly. Then cut a length of cord or ribbon for the drawstring. Make your drawstring at least four times the width of your bag. There is nothing worse than a too short drawstring. Attach a safety pin to one end, and thread this through the string channel.
Tie the ends of your ribbon together, and there you have it a simple drawstring bag to put something special in.
And if you want something a bit fancier you could experiment with your fabric choice, decorate your bag with a little embroidery, or even fasten a bead on the end of the drawstring. Now you just have to decide on something cute to put in your bag.

I have tried quite a few ways to sew a drawstring bag, and am going to show you what I think is the easiest method. If you are making a larger drawstring bag which you are going to use a lot I think it is better to have two strings that you pull at each side, and perhaps to sew french seams, but this is my tried and tested method for a small, simple bag.
First cut out your material. I am not going to give exact measurements for this, as it depends how big you want your bag to be. An easy way to calculate what you need is work out twice the width you want your bag, and add 2 x 0.5cm for side seams. For the length just work out how tall the bag will be, and add 2cm for the top cord channel and 0.5cm for the bottom seam allowance.
In my photographs I am using dupion silk, and have used iron-on facing which I find makes it easier to work with. For a small bag I recommend you use a fine material like cotton or silk.
Pin your material at both sides at the top of your bag as in the photo below. Sew this small tapered seam as close to the edge as you can with a short stitch.
Next fold the material at the top of your bag to make a channel for the drawstring. Sew this with a longer stitch, as this stitching will show as topstitching on the outside of your bag.
Then fold your bag in half with the right side on the inside, and with a shorter stitch sew across the bottom and up the side, stopping just before you reach your drawstring channel. Allow 0.5 cm for the seam, but keep in a straight line as you stitch up the side of the bag so you stop sewing exactly at the edge of your material and just below your cord channel. Trim the corners at the bottom diagonally, which will give a neater look when you turn your bag right side out.
Turn your bag right side out. Use a pin to turn the corners out neatly. Then cut a length of cord or ribbon for the drawstring. Make your drawstring at least four times the width of your bag. There is nothing worse than a too short drawstring. Attach a safety pin to one end, and thread this through the string channel.
Tie the ends of your ribbon together, and there you have it a simple drawstring bag to put something special in.
And if you want something a bit fancier you could experiment with your fabric choice, decorate your bag with a little embroidery, or even fasten a bead on the end of the drawstring. Now you just have to decide on something cute to put in your bag.
Subscribe to:
Posts (Atom)