Showing posts with label Kids. Show all posts

Friday, 10 April 2015

Skater Girl Skirt

Cutting out the paper pattern.
School holidays are the time when you need a few indoor projects. So my daughter and I decided that it would be a good idea to make a skirt. Since she has not done it before, we thought we would have a go at following a pattern. We were also a bit inspired by the return of The Great British Sewing Bee.

This was the pattern we used.

She picked a light weight cotton, which I thought would be easy to sew, and would gather easily. She hasn't done gathers before, so I thought it would be good to learn a new technique. The skirt is gathered at the front, and has elastic inserted in the waistband at the back.
 
Not quite sure what was up with the beret. I think she was getting in a 
French fashion sort of mood.


A little bit of hand stitching to close up the channel for the elastic.

And here is the skater girl in action

Sunday, 22 February 2015

Big Fat Cookie


You may have noticed that there really seems to be a lack of knitting on my blog. I seem to have slightly lost focus, but it also because I have been working on a new pattern since the start of 2015. It is taking so much longer than I expected. So until that is done, here is a bit more cookery ....

I thought you might like to see what I came back to find the other day. She hadn't baked it, but my daughter had prepared this enormous cookie. She used this Millie's Cookie recipe, just leaving out the chocolate chips, and came up with the design herself. The letter cutters were from Santa, but he got them from Tiger. I took the photo below to try and show the scale. Despite its huge size the cookie still disappeared incredibly quickly.


Saturday, 20 April 2013

Troll Makeover


On our recent holiday we found this sad little creature washed up on the beach.  How long had she been in the sea? What adventures had she been through? Little One decided to adopt her, but she definitely needed a bit of a makeover.

It is amazing what can be done with a bit of pink fluff, some glue and an indeliable pen.  And a bit of pink wool for her new outfit. Her name is Dune.


Now she is ready to meet the other little trolls, and be part of the gang.  But she will always retain the marks of her adventures. (Can you see her smooth hands, feet and ears?)


And the bigger trolls. (Some of these trolls are nearly as old as me, which is why they are so wise.)  I just love trolls.


Friday, 1 March 2013

Leafy Child's Cowl


I've been working away at a new pattern, which I've decided to call The Leafy Cowl. (I toyed with the idea of calling it either the Fairy Cowl, or Pixie Cowl, but I think I have finally settled on Leafy.) It is knitted in Debbie Bliss Blue Faced Leicester Aran, but other similar weight wools would work well. The pattern is now available on Ravelry. Just click on the links in my sidebar.

This pattern has some simple cabling on the neck section, as I wanted it to be really cosy. It also has a tension gauge, a recommended wool and yardage details. 

I usually call my knits quick, but the leaves (of which there are 25 in all) took me two evenings to knit. I guess you might say that is not really long, but I had to knit a few prototypes before I did this final version, so feel a bit leafed-out. Compared with some of my other patterns there is quite a lot of knitting (and also running in of ends).


Here is Little One in the cowl, and I am in the process of knitting an adult version. At first she was a very reluctant model, until she decided to draw up a modelling contract where she gets a percentage of any pattern sales. We haggled a bit, as she tried to also get a flat rate for each photo I took. Smart girl, but since I take about 10 bad photos for every OK one I didn't agree to this! Sorry about our slightly shabby side alley. Originally I had decided to take some fairy photos in the woods with Little One posed on a tree stump in a dress, but in the end preferred these ones taken at home at the side of the house. This is a cowl for a girl who might turn her hand to a bit of carpentry or DIY.


Little One is ten, although very small for her age. The cowl would fit most children between 4 and 13. Teenagers and adults should wait for the adult size pattern. The cowl has a stretchy double cast-on edge, which is very elastic. If you are not familiar with the double cast-on method I have made a photo tutorial, which I have put in a new knitting tips corner that will remain in my sidebar. I am also thinking of doing a separate Baby Leafy Cowl, probably in a softer finer wool.

I'm really happy with how the cowl has turned out. It will be so useful, as it smartens up any outfit, and is very cosy, and I hope it has a quirky stylishness. I drew some of my inspiration from the flower fairy books, by Cicely Mary Barker.

Sunday, 3 February 2013

Little House on the Prairie


Little One and I were watching a new programme on kid's television last week called "Totally Rubbish". Right up our street. All sorts of crafting, and upcycling. A paper artist called Su Blackwell was featured, making a little scene out of old phonebooks. Some of her work, much of which is inspired by fairytales, is really amazing. I have possibly misnamed this post, as I should have called in Little House in the Big Wood.

So when a new yellow pages popped through our door, Little One thought she would have a go this afternoon, at making something with the old one. I was summoned with my knitting needles to help make some of the little tubes. (I got a bit grumpy about the risk of glue on knitting.) I have been working on a new knitting pattern all week, but it is still not ready to go. Can you see the complete concentration on her face?


So while she was constructing I thought I would have a little go at making a paper daffodil. I have left it in with the others in the vase, and will see if any of my family notice.


We have not really done much paper craft, but it was really fun. Very cheap afternoon's entertainment too.


Wednesday, 9 January 2013

Gingerbread House


Some time last year I saw on another blog some tin baking trays designed to make a gingerbread house. I thought this looked such a great idea, and so was really delighted when Father Christmas found and delivered Frankie some gingerbread house trays.


These are made of sillicone, and I think they are something we will use time and time again.


She had such fun making (and decorating this house). There is a gingerbread recipe on the packaging, which worked really well. The sections of the house were easy to turn out, and constructing the house was not difficult. 

My daughter is 10 years old, and has done a lot of cooking, so apart from helping her with the oven, she made and decorated this house without any help. (I was knitting and supervising from a distance!) They also suggest you can use the trays as moulds for a solid chocolate house, which would be rather fantastic!


The house is still uneaten, although quite a lot of the sweets have mysteriously gone missing. We also caught one of my cats on the table licking the chocolate decking, so we are going to give that part a miss.


If anyone in the UK is interested Santa told me he got the trays at Lakeland Plastics, and they do have a website. You can find the trays at http://www.lakeland.co.uk/16789/Fairy-Tale-Cottage-Mould


Saturday, 6 October 2012

Dahlicious Girl and Dressing Up

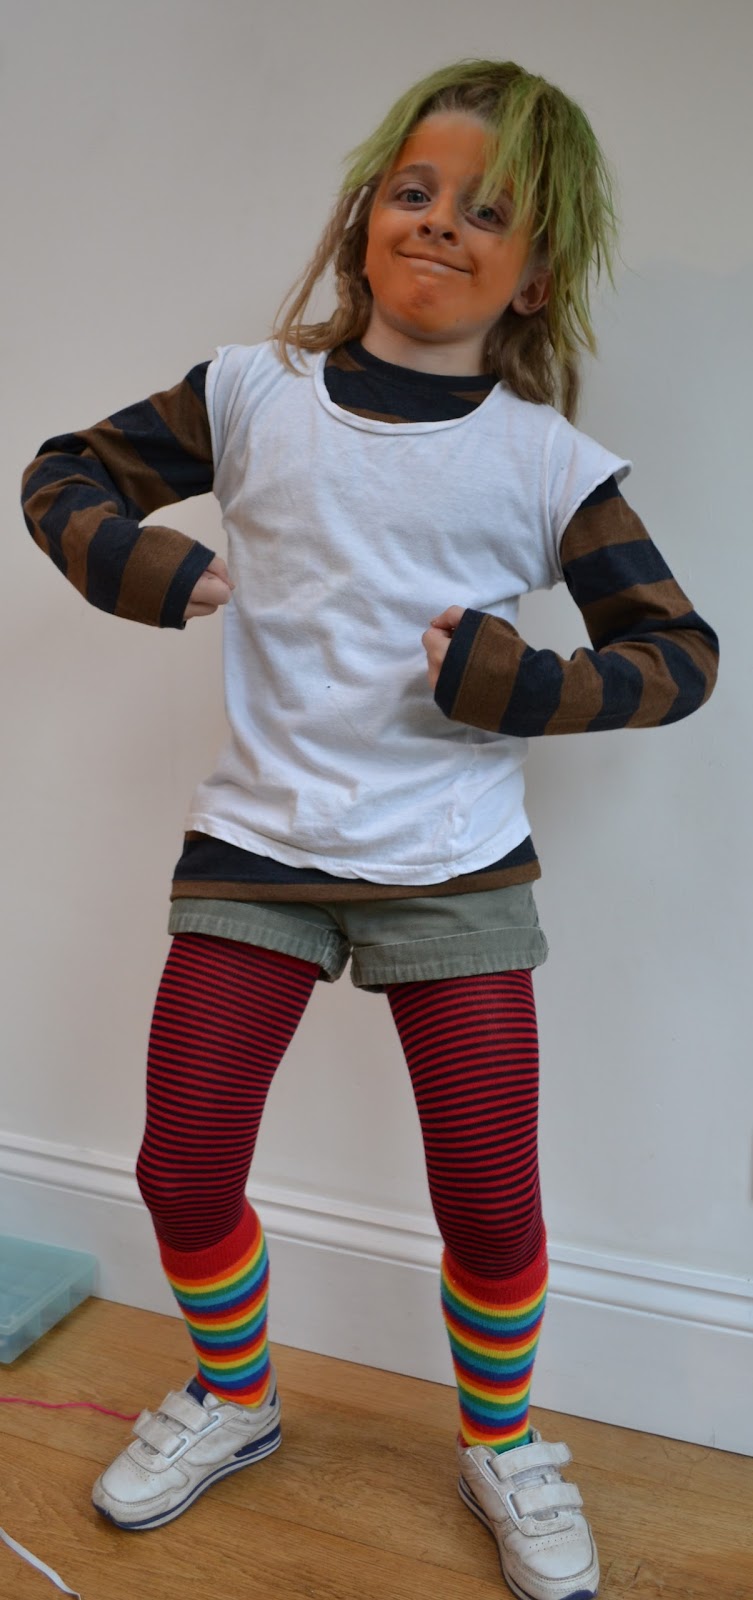
Last week they had Roald Dahl Day at my daughter's school. You could go into school dressed as your favourite character from a Roald Dahl book. So here is my little Oompa Loompa. Amazing what a bit of green hair spray and orange face paint can do!


She looked so funny, and was so excited.  I love it now that she takes the lead with dress-up days, and tells me what she needs. My son used to loathe dressing up, until almost the last year of primary school, when he suddenly seemed to get that it was all just a bit of fun.


I have put together as many of the old dress-up day pictures as I could find. There are a few missing, as I think they were pre-digital camera. I love putting together an outfit. 

But when I worked at my daughter's school I also had to come up with an outfit for myself as well. Strangely I don't have any photos of those.The funniest occasion was when I bumped into an old friend on the way home in my Winnie the Witch purple and black stripey tights, and cape. She was looking at me very strangely, until I reassured her they weren't my usual clothes.

Linking to Saturday Snapshot. I can't believe I forgot to link last week. Meant to put my Sand Dollar post on, but homework just seems to take over the weekends these days. Sigh! 

Noddy
Little Red Riding Hood


Mummy for Halloween
Flower Fairy

Tudor Servant
Pa From Little House on the Prairie


Ok, found one of me that is not too embarassing, as Sheep with Lamb.


Wednesday, 15 August 2012

Kid's Craft - Dragonflies - Learning to Twist and Wind


This is often the first project I do with my craft club.  It seems very simple, but to make a dragonfly, requires quite a lot of skills: careful cutting, threading, twisting, winding, measuring, tying knots. I found it a really good way to assess the skills of the children.  (My knitted dragonfly pattern came out of this project.) I also like this project, because everyone has something to take home at the end. That is really important when you are little.

So first of all this is what you need:

Some beads that will thread on to a pipecleaner
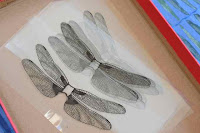
Dragonfly wings printed on acetate or paper


Scissors and elastic thread (optional

Pipe cleaners
Selection of wool

The first job is to cut out your dragonfly's wings. This needs to be done really carefully. Cut between the upper and lower wings, but it really important to not cut through the central section that holds the 4 wings together. Print a few extra wings, just in case you need them.


Next take a pipe cleaner and fold it in half.


Thread two beads onto the pipe cleaner, and push these down to the fold. These are your dragonfly's eyes. We picked beads that were the same, but I guess you don't have to. My daughter later decided to draw on her beads with a permanent felt tip, but that was just her own idea.


Then twist the pipe cleaners round a few times to hold the eyes in place. This step may seem very simple to a grown-up, but you may need to show a child exactly how to hold the head firmly in one hand and twist with the other.


Now you have made the head.


Next slip the wings between each side of the pipe cleaners. Make sure you have them the right way round.


Start twisting the two halves of the pipe cleaner again as firmly as you can, to make the rest of the body.


Now you have your basic dragonfly, but he looks a bit thin. The next stage I call chubbying him out.  Cut off a length of wool, and tie one end to your dragonfly. Now you need to do the winding. Winding around the wings can be a bit tricky. The great thing is nothing at this stage is wrong. Dragonflies come in a huge variety of colours. It does not matter if he ends up fat or thin. You might want to thread some extra beads onto your dragonfly's body.


One way to join in another colour is to knot your wool together.


If you are clever you can wind two pieces of wool at the same time.


You may need to help a child with fastening off the wool, as this is a bit tricky.

With little children you may also need to help them fix the elastic to their dragonfly. I have a really big blunt needle, which some children could manage. Try to find the balance point, which will vary a bit depending on the beads you have used, and the wool. If you haven't got elastic you can use piece of wool to hang up your dragonflies.


What is lovely is that no two dragonflies will look the same.


Try and get you little crafters to help tidy up. Not always easy, but another important skill to learn.


We decided to tie our dragonflies around the garden umbrella, and my cat was definitely interested in them.


To download the dragonfly wings right click on the image below. I tried to put in a button that you just click and it downloads but in my usual technaphobe way, I had a bit of trouble with this. If anyone knows an easy way to do this I would love to know. The other place you can get the wings is on my dragonfly knitting pattern on ravelry.

The wings should be an A4 sheet and approx 14cm wide. If you decide to print them on acetate be very careful to check you have the right type for your printer or photocopier. Printing them onto paper or thin card can work well too.

Happy crafting!